Over the past few years I have been messing around with neural style transfer, which is the process of taking one image as a style and styling another image with the look of the style image.
Wikipedia defines Neural Style Transfer as
Neural Style Transfer (NST) refers to a class of software algorithms that manipulate digital images, or videos, in order to adopt the appearance or visual style of another image. NST algorithms are characterized by their use of deep neural networks for the sake of image transformation. Common uses for NST are the creation of artificial artwork from photographs, for example by transferring the appearance of famous paintings to user-supplied photographs. Several notable mobile apps use NST techniques for this purpose, including DeepArt and Prisma. This method has been used by artists and designers around the globe to develop new artwork based on existent style(s).
Below is the flow of taking an image, and the style then running it though some process which outputs the final combined style.
Over the past few years their has been advancements in this space and originally I was testing code from Camron Smith https://github.com/cysmith/neural-style-tf which was first posted about 4 years ago (2016), and have tested many other code packages to fine the best style transfer results.
I recently moved to Pro Gamer Gov PyTorch implementation which is based off the paper “A Neural Algorithm of Artistic Style” and the original code from Justin Johnson.
It took me a while to really tune the command line arguments to reach a result I was looking for.
The two main arguments listed below are what I spent a lot of time tweaking to find an overall great result. These may or may not give you the results you want but you can defiantly see the changes and how much the style effects the main image.
-content_weight: -How much to weight the content reconstruction term. Default is 5e0
-style_weight: How much to weight the style reconstruction term. Default is 1e2.
The first image is with out any adjustments and using the default values of cw (content weight) and sw (style weight).
Please note if your copying these commands and testing them out I suggest you remove -image_size 2048 unless you have a high end GPU because your GPU will run out of memory. The default value is 512 which should work for most GPU’s. -Tested with a 24 gig Titan RTX card.
Each image took about 6 minutes to process on my graphics Card.
Default command line using cudnn and lbfgs arguments.
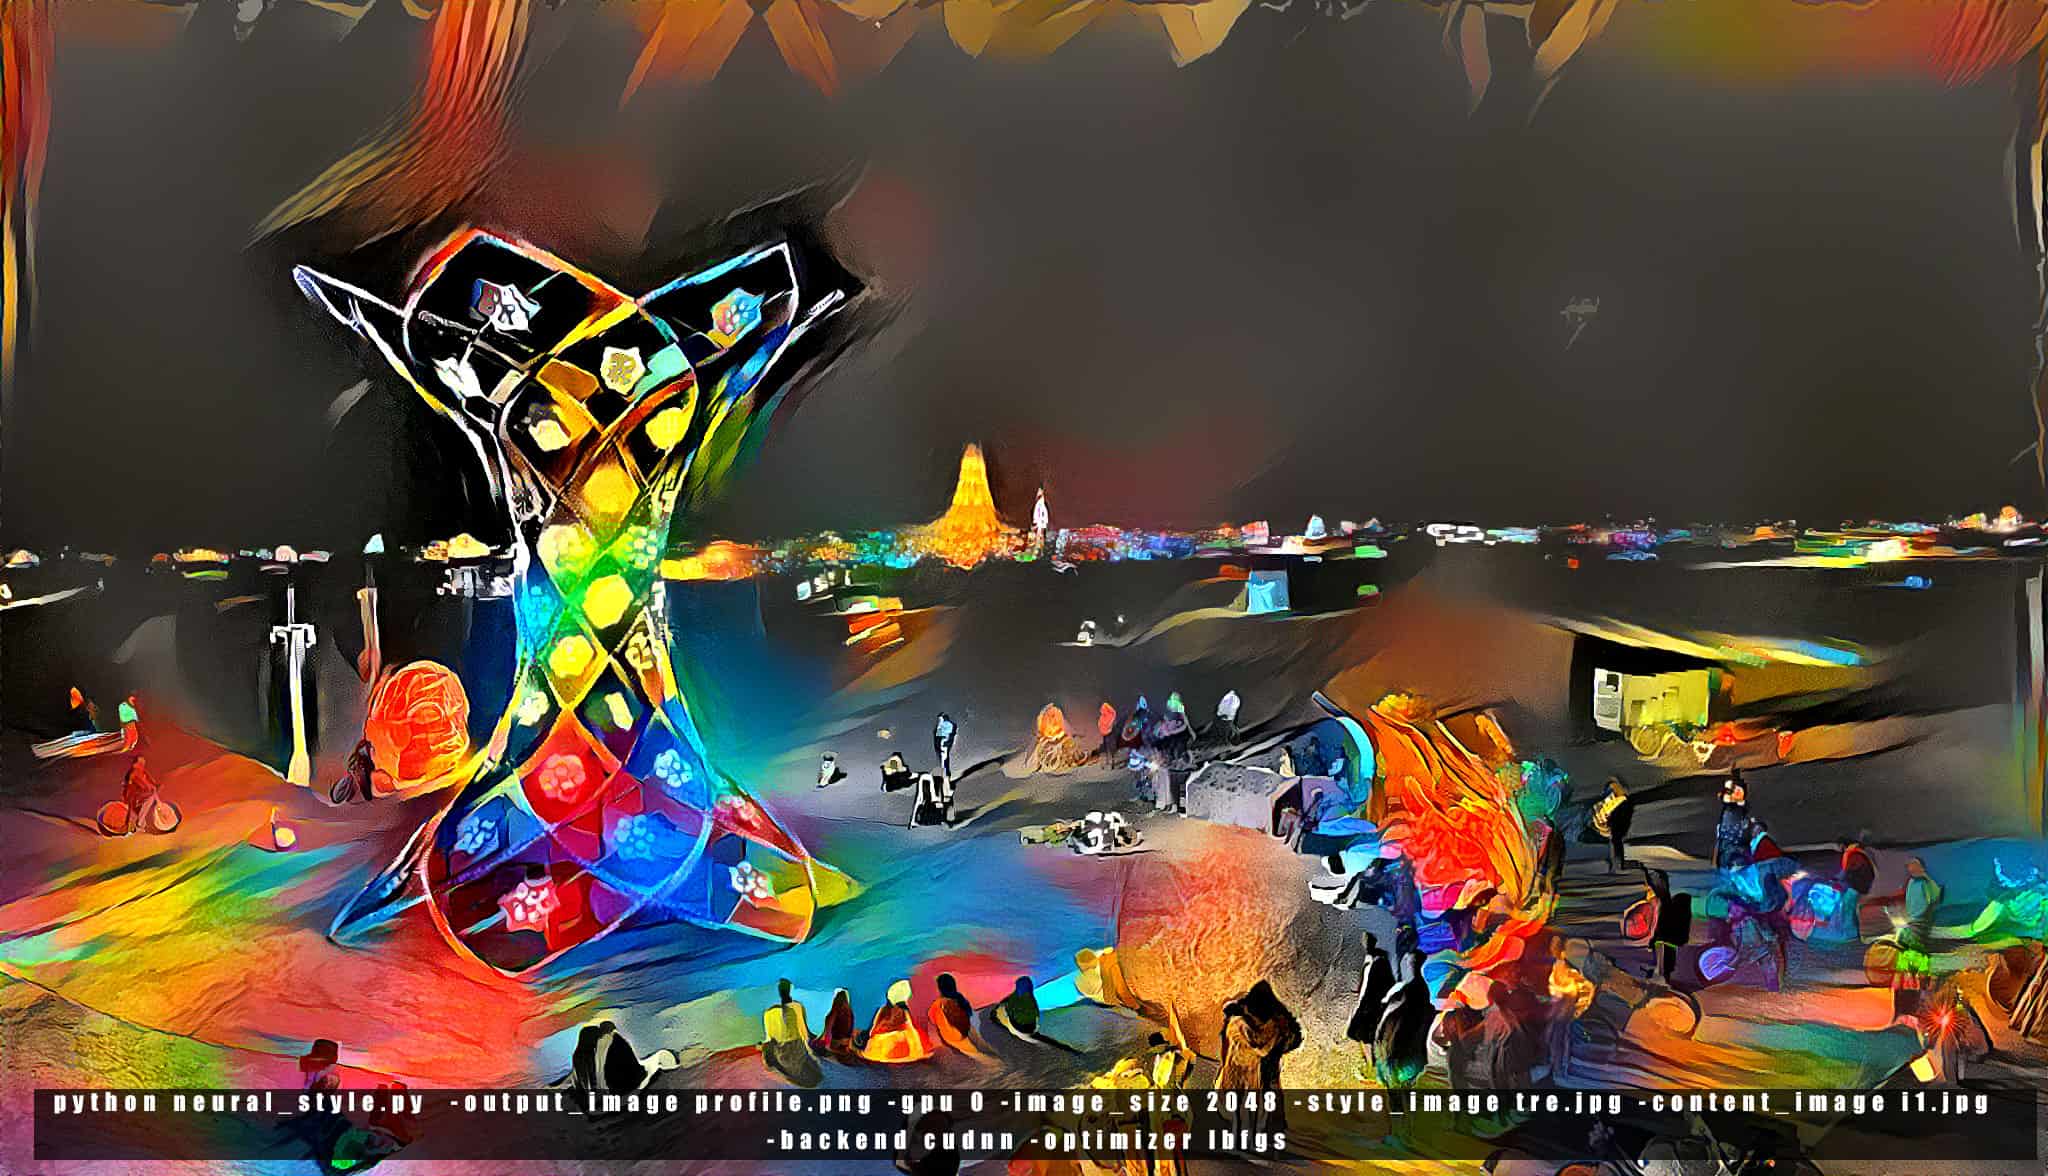
python neural_style.py -output_image profile.png -gpu 0 -image_size 2048 -style_image tre.jpg -content_image ilumina.jpg -backend cudnn -optimizer lbfgs
Next I just added a content weight of 10 into the mix which looks almost similar to the default one but with minor style changes.
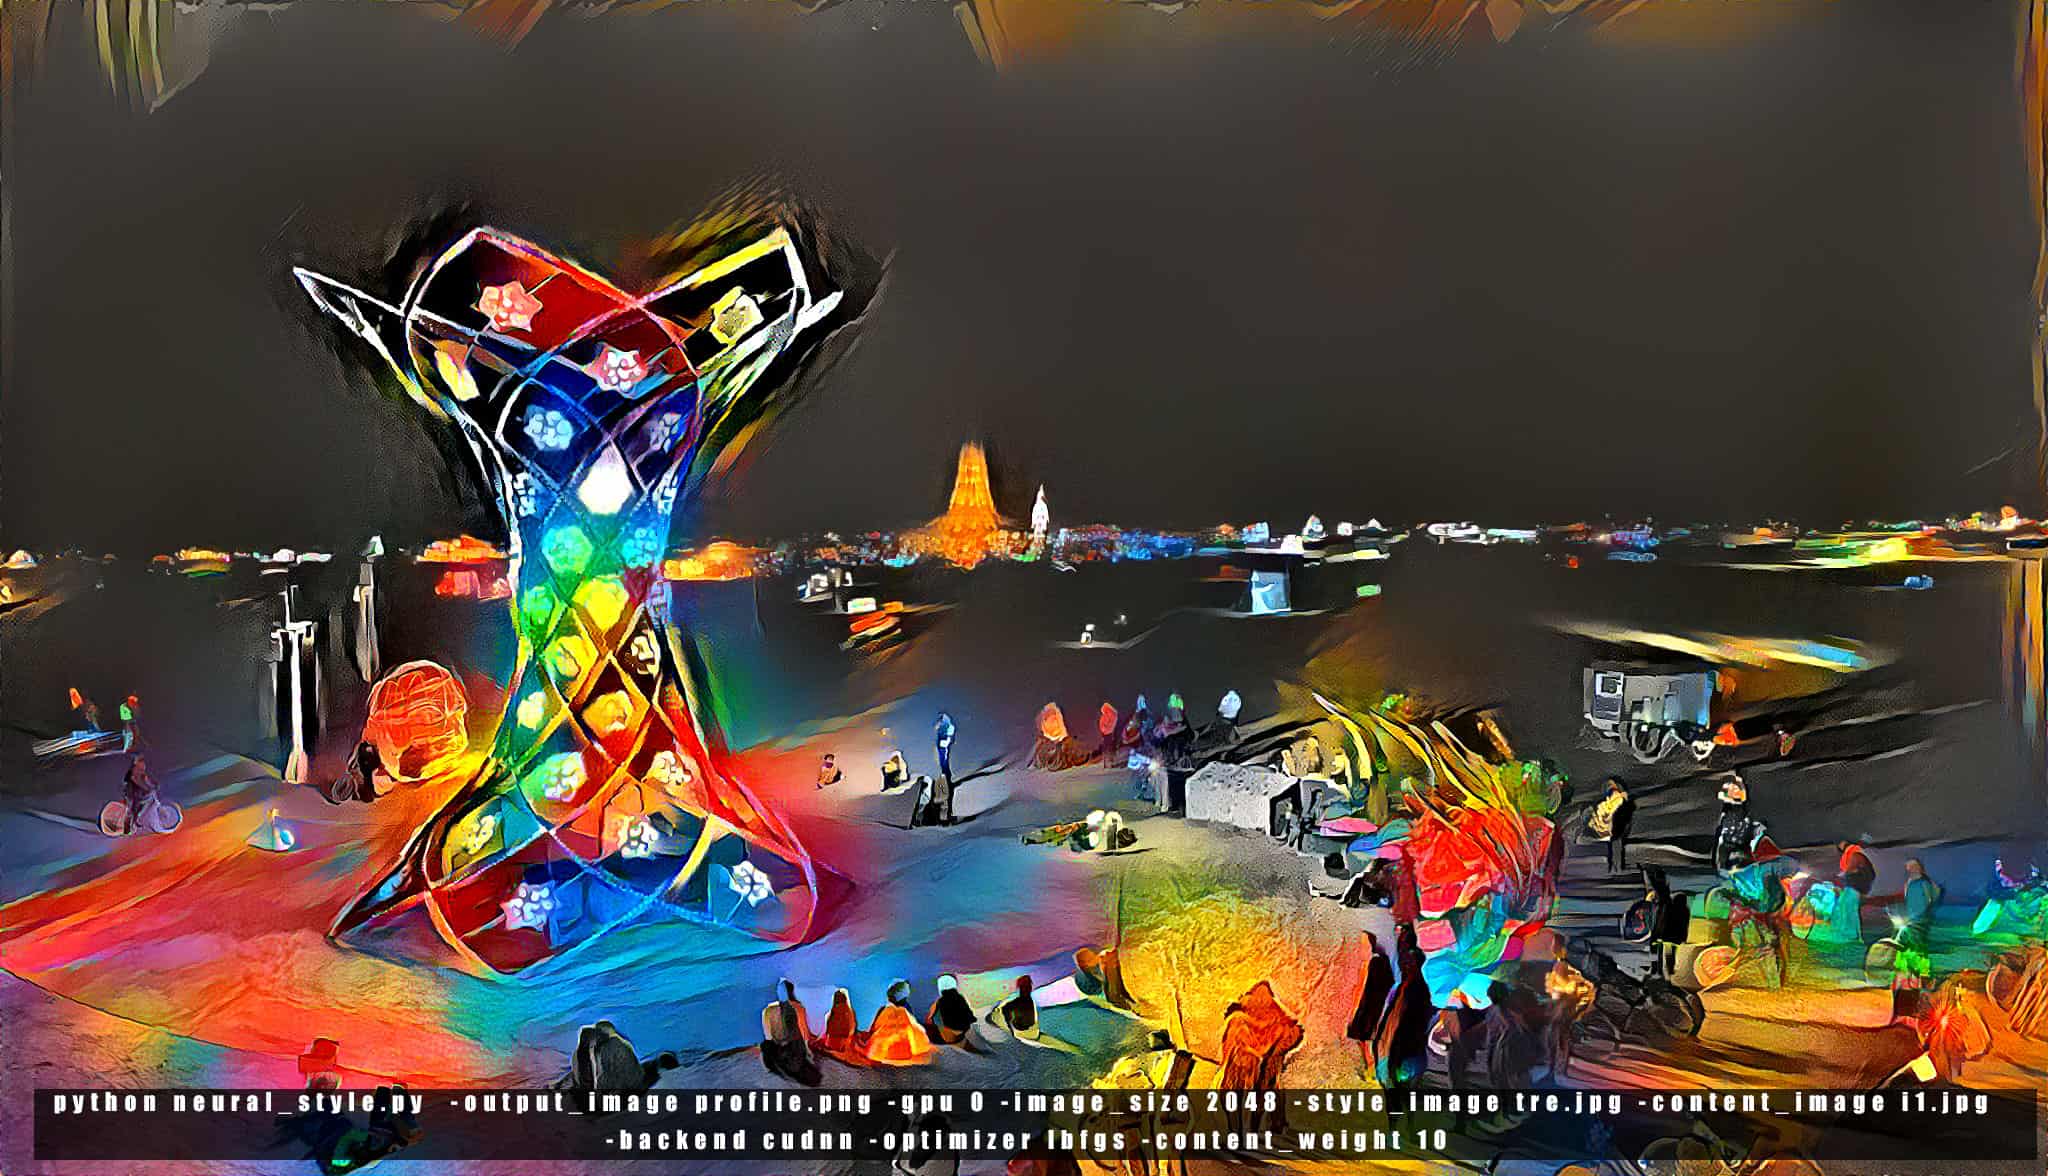
python neural_style.py -output_image profile.png -gpu 0 -image_size 2048 -style_image tre.jpg -content_image ilumina.jpg -backend cudnn -optimizer lbfgs -content_weight 10
Next I bumped up content weight = 5 and style weight = 500 (just messing around to see the results). You can see from the results that the style really took over and was much more prominent.
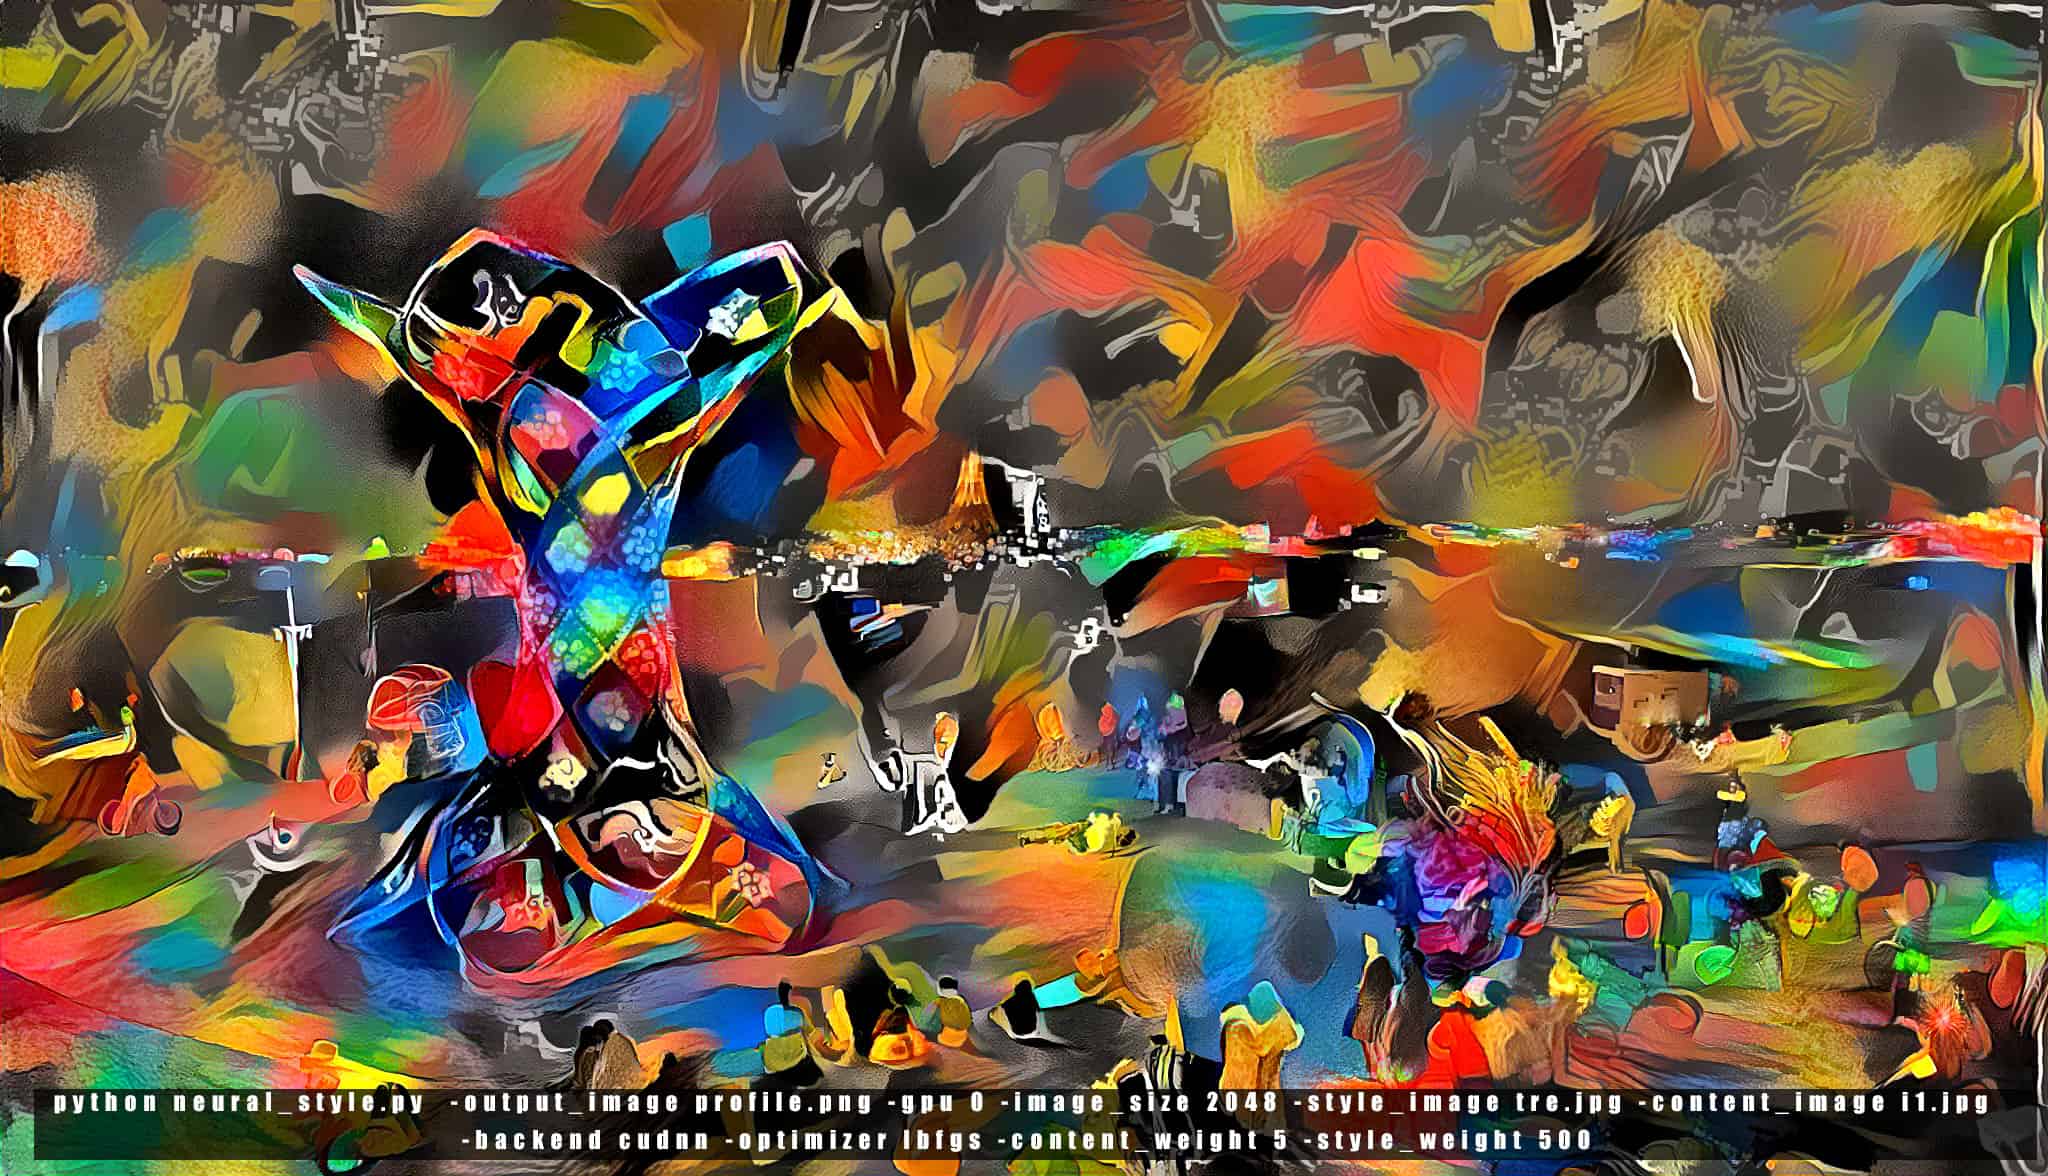
python neural_style.py -output_image profile.png -gpu 0 -image_size 2048 -style_image tre.jpg -content_image ilumina.jpg -backend cudnn -optimizer lbfgs -content_weight 5 -style_weight 500
My next attempt was to bump up the content weight a bit more, so I double the value from 5 to 10, which intern brought back a bit more of the detail from the original image.
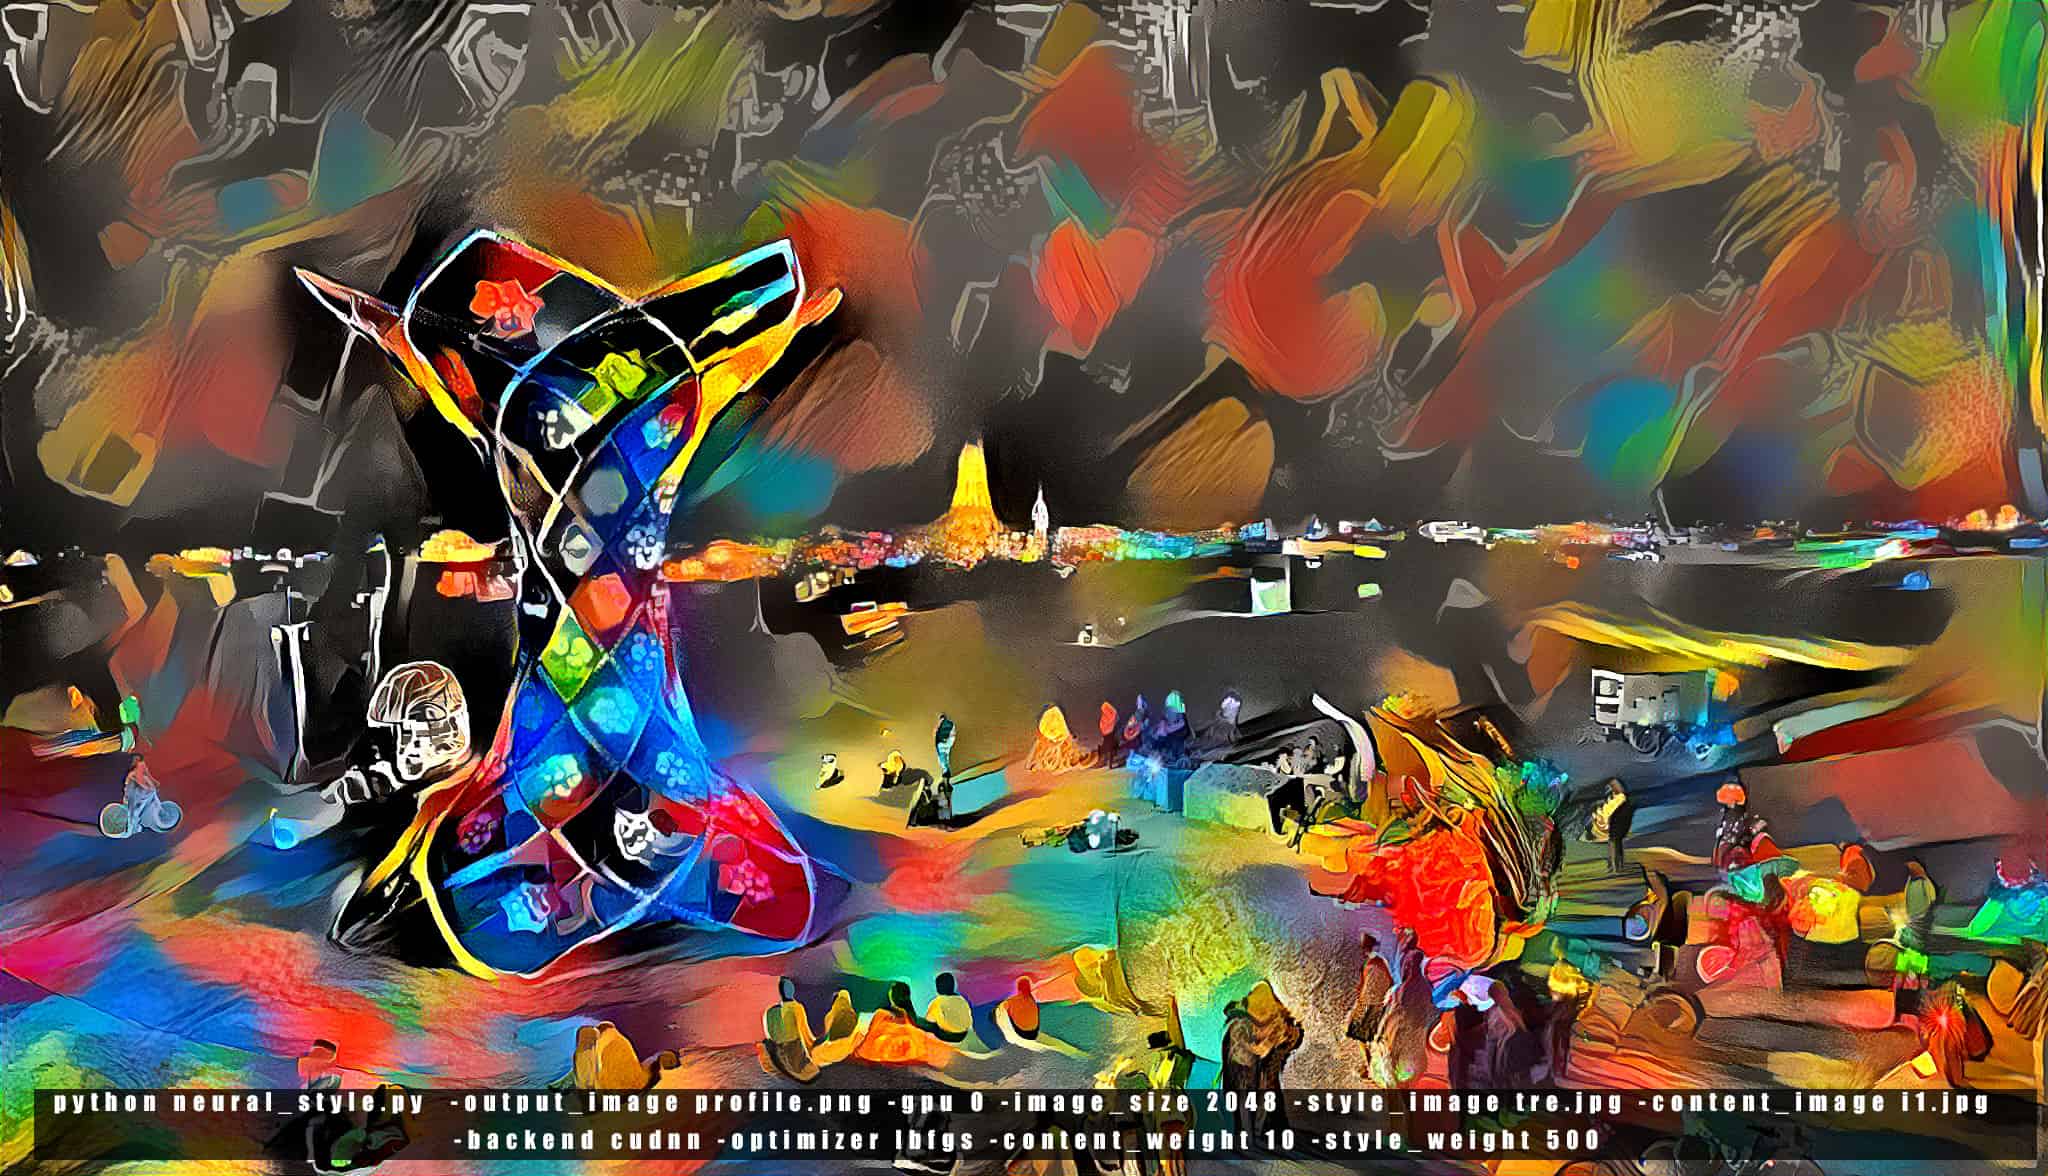
python neural_style.py -output_image profile.png -gpu 0 -image_size 2048 -style_image tre.jpg -content_image ilumina.jpg -backend cudnn -optimizer lbfgs -content_weight 10 -style_weight 500
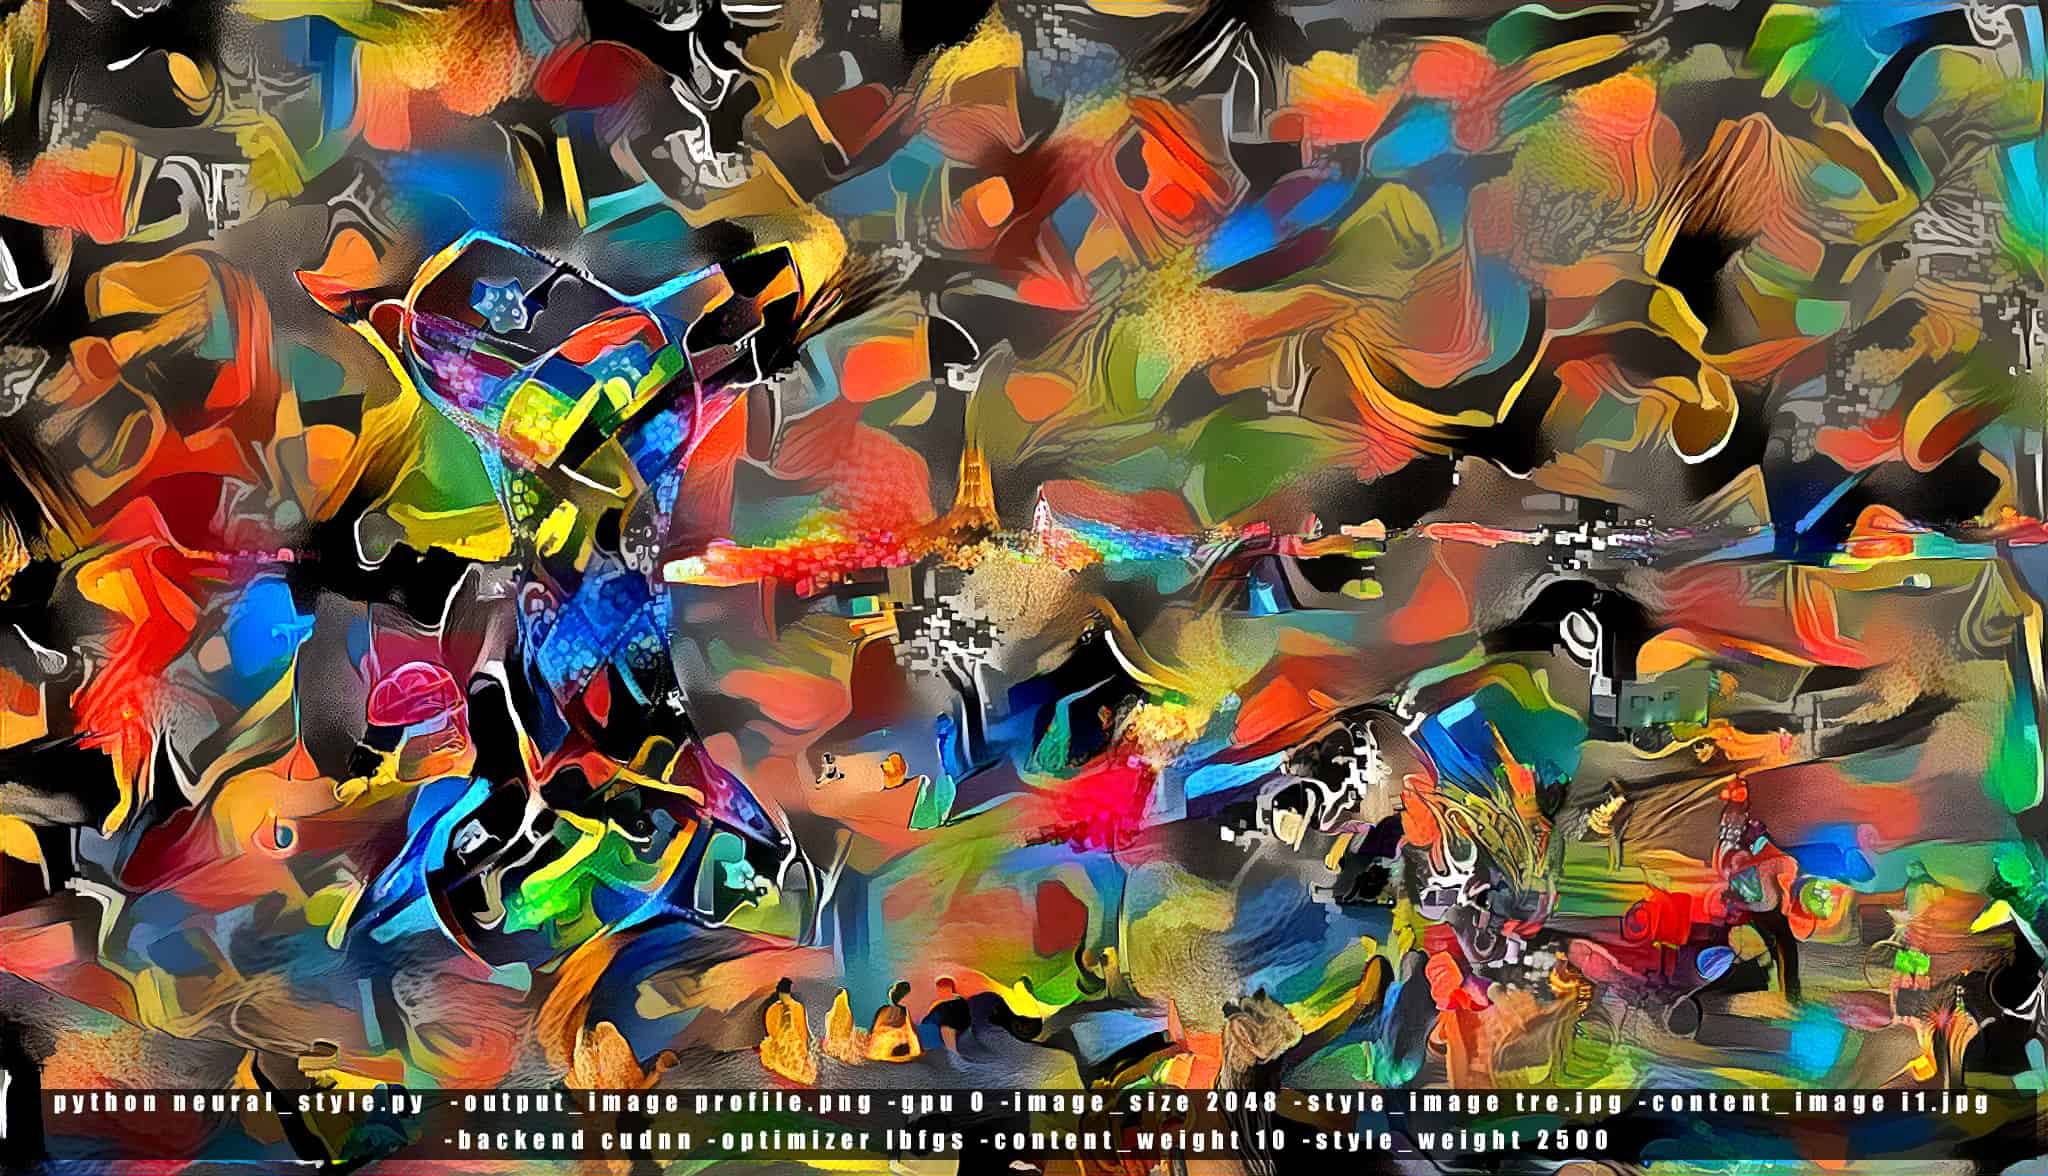
Lastly I wanted to just got a bit wild and bump up the style weight to 2500 which from the image below you can see a lot of the details are gone from the image and its become very painterly.
One last command that you can play around with is the -original colors switch which doesn’t take the colors from the style but keeps the one from your original image as seen below.
python neural_style.py -output_image profile.png -gpu 0 -image_size 2048 -style_image tre.jpg -content_image ilumina.jpg -backend cudnn -optimizer lbfgs -original_colors 1
So you can see by messing around with those 2 parameters you can really push the style to where the original image isn’t really recognizable anymore. This was just an exercise for me and I don’t pretend to know all the in-depth details on this process however having a few images at various settings helps me out for any new images I may apply style transfer to.
If you like this type of art I recommend you take a look at the DeepDream Reddit Group.
Also I have done a few videos in the past using different code and techniques
Video Style Transfer
Neural style zoom into a single image
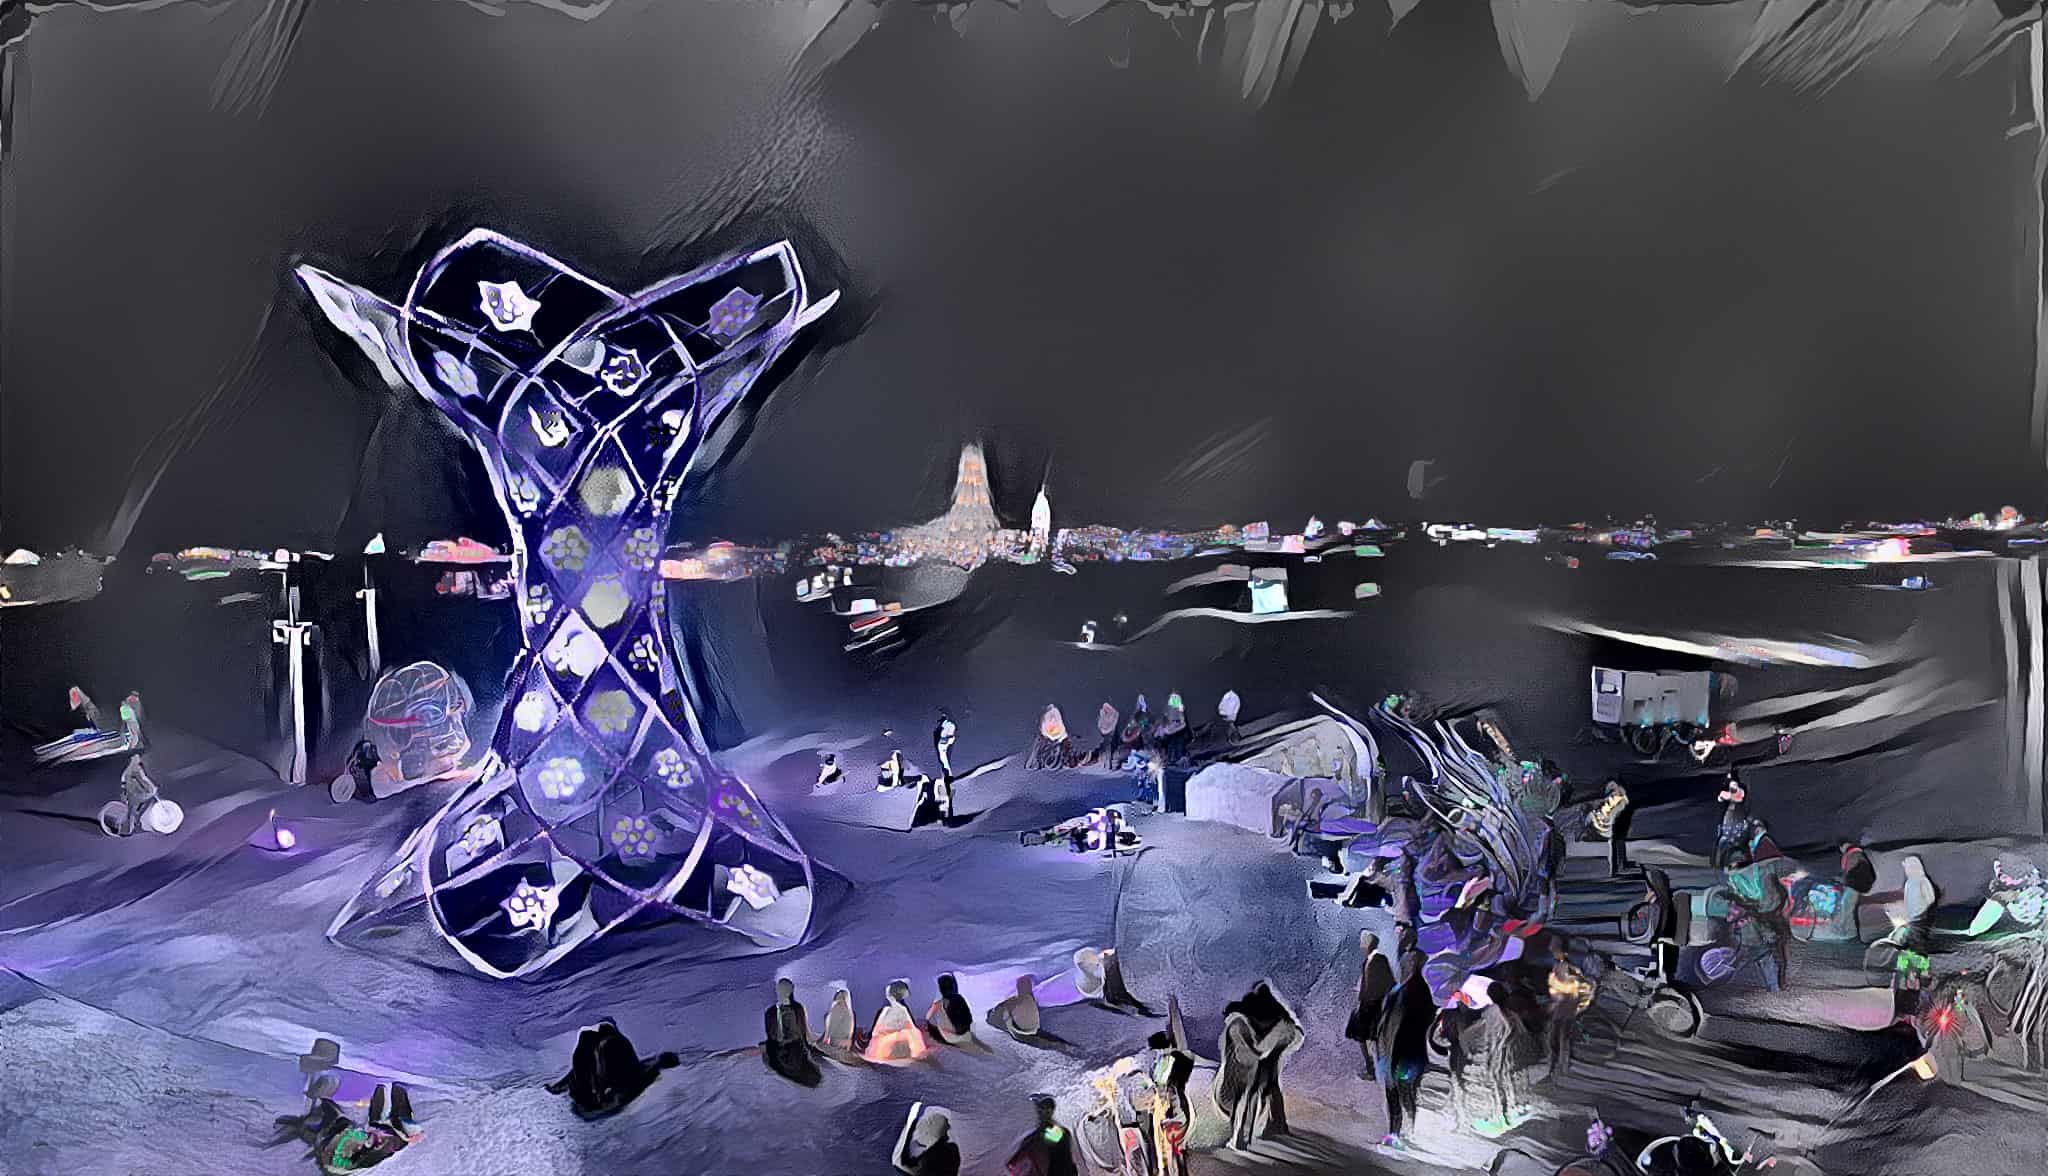
Check out Ilumina which was an amazing art piece I had the privilege of filming at 2017 Burning Man.
[rl_gallery id=”1003″]
If you have any questions leave it down in the comments below.
Cheers!